How to Color Grade Drone Footage Like a Pro: Complete Workflow.
How to Color Grade Drone Footage Like a Pro: Complete Workflow. When it comes to drone photography and cinematography, one of the most rewarding aspects is the ability to capture stunning aerial views. However, the true magic happens when you dive into post-production and elevate your footage through color grading. If you’re flying with a DJI drone, you’re already equipped with some of the best aerial camera technology. But to make your footage stand out and look professionally polished, you need to master the art of color grading.
Whether you’re a seasoned professional or a hobbyist looking to take your drone footage to the next level, here’s a complete guide on how to color grade your drone shots like a pro.
Why Color Grading Drone Footage Is Essential
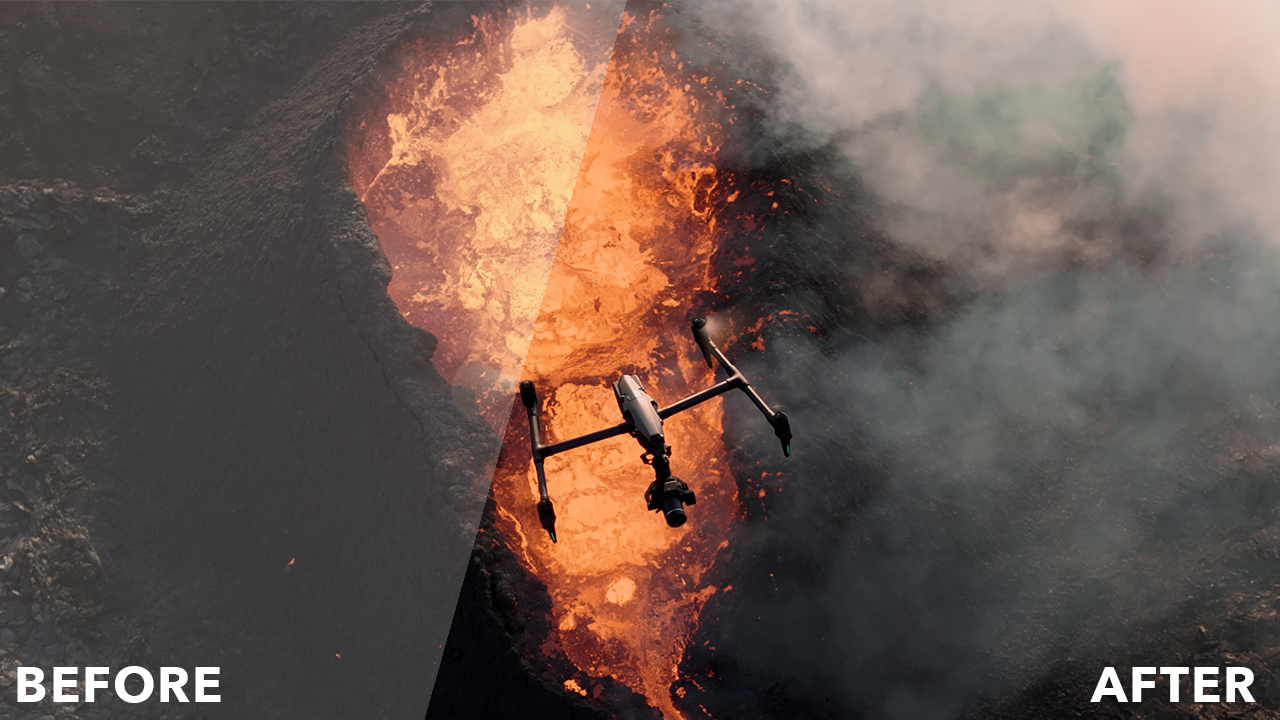
Color grading is the final step in the post-production process where you enhance the colors, contrast, and overall mood of your footage. For drone footage, this step is crucial because the aerial shots often feature expansive landscapes with vibrant skies, lush green fields, and textured mountains. The raw footage you get from your DJI drone might look great straight out of the camera, but color grading allows you to add that extra cinematic touch.
Here are some reasons why you should focus on color grading:
- Correcting Exposure & White Balance: Raw drone footage can often appear washed out or have uneven exposure and lighting. Color grading helps you correct these issues to make the footage pop.
- Achieving a Cinematic Look: With color grading, you can give your drone footage a professional, cinematic quality. It’s how filmmakers and content creators achieve that rich, dramatic style.
- Setting the Mood: The colors you choose in post-production can help convey the emotion or story you want to tell through your footage.
Step-by-Step Workflow for Color Grading Drone Footage
Let’s dive into the complete color grading workflow for drone footage. We’ll be using software like Adobe Premiere Pro or DaVinci Resolve, which are popular tools for professional video editors. However, the principles can be applied in most color grading software.
1. Prepare Your Footage
Before you begin color grading, ensure that your footage is properly organized and ready for editing:
- Import your footage: Upload your DJI drone footage into your editing software. Most DJI drones like the Mavic and Air series use high-quality codecs such as H.264 or H.265, which you can edit without losing much quality.
- Choose the best shots: Review your footage and choose the shots you want to work on. Drone footage typically requires careful selection since the shots may vary in light and exposure.
2. Basic Corrections: Exposure, Contrast, and White Balance
The first step in color grading is making basic corrections to your footage to ensure the colors and lighting are balanced:
- Exposure: Make sure the exposure is correct. Drone footage can sometimes be overexposed or underexposed, especially when shooting in challenging lighting conditions. Use your editing software’s exposure sliders to adjust highlights, shadows, and midtones.
- Contrast: Increase or decrease contrast to define the highlights and shadows better. Be careful not to crush the blacks or blow out the whites. Keeping the contrast balanced ensures that your footage doesn’t look flat or too harsh.
- White Balance: Many DJI drones are set to auto white balance by default, which can result in inconsistent color tones, especially in changing lighting conditions. Adjust the white balance to ensure that the footage doesn’t have a cool or warm cast unless you intend to create that mood.
3. Use DJI’s D-Log or Flat Color Profile
DJI drones come with several color profiles designed for maximum flexibility in post-production. If you shoot in D-Log or Flat Color Profile, you’ll have more dynamic range to work with in post-production, making it easier to achieve that cinematic look.
- D-Log: This is a flat color profile designed to capture the widest range of colors and brightness, ideal for color grading. If you shoot in D-Log, you’ll need to add contrast and saturation to the footage during the color grading process.
- Color Profiles: If you didn’t shoot in D-Log or a flat profile, you might find the footage more challenging to grade. The default color profiles usually have more contrast and saturation baked in, limiting your flexibility.
4. Color Wheels for Shadows, Midtones, and Highlights
Now that you’ve made basic corrections, it’s time to dive deeper into the creative process by adjusting your shadows, midtones, and highlights. Most color grading software, including DaVinci Resolve, provides color wheels to control these aspects.
- Shadows: Adjust the shadows to create more depth and dimension. Sometimes, pulling down the shadows can help reduce noise in darker areas.
- Midtones: The midtones are usually where most of the detail in your footage lies, so focus on these to bring out textures and subtle color variations. Increasing or decreasing midtones will add depth to the scene.
- Highlights: Enhance or reduce highlights to control the brightness of your footage, especially for areas like the sky or sunlit surfaces.
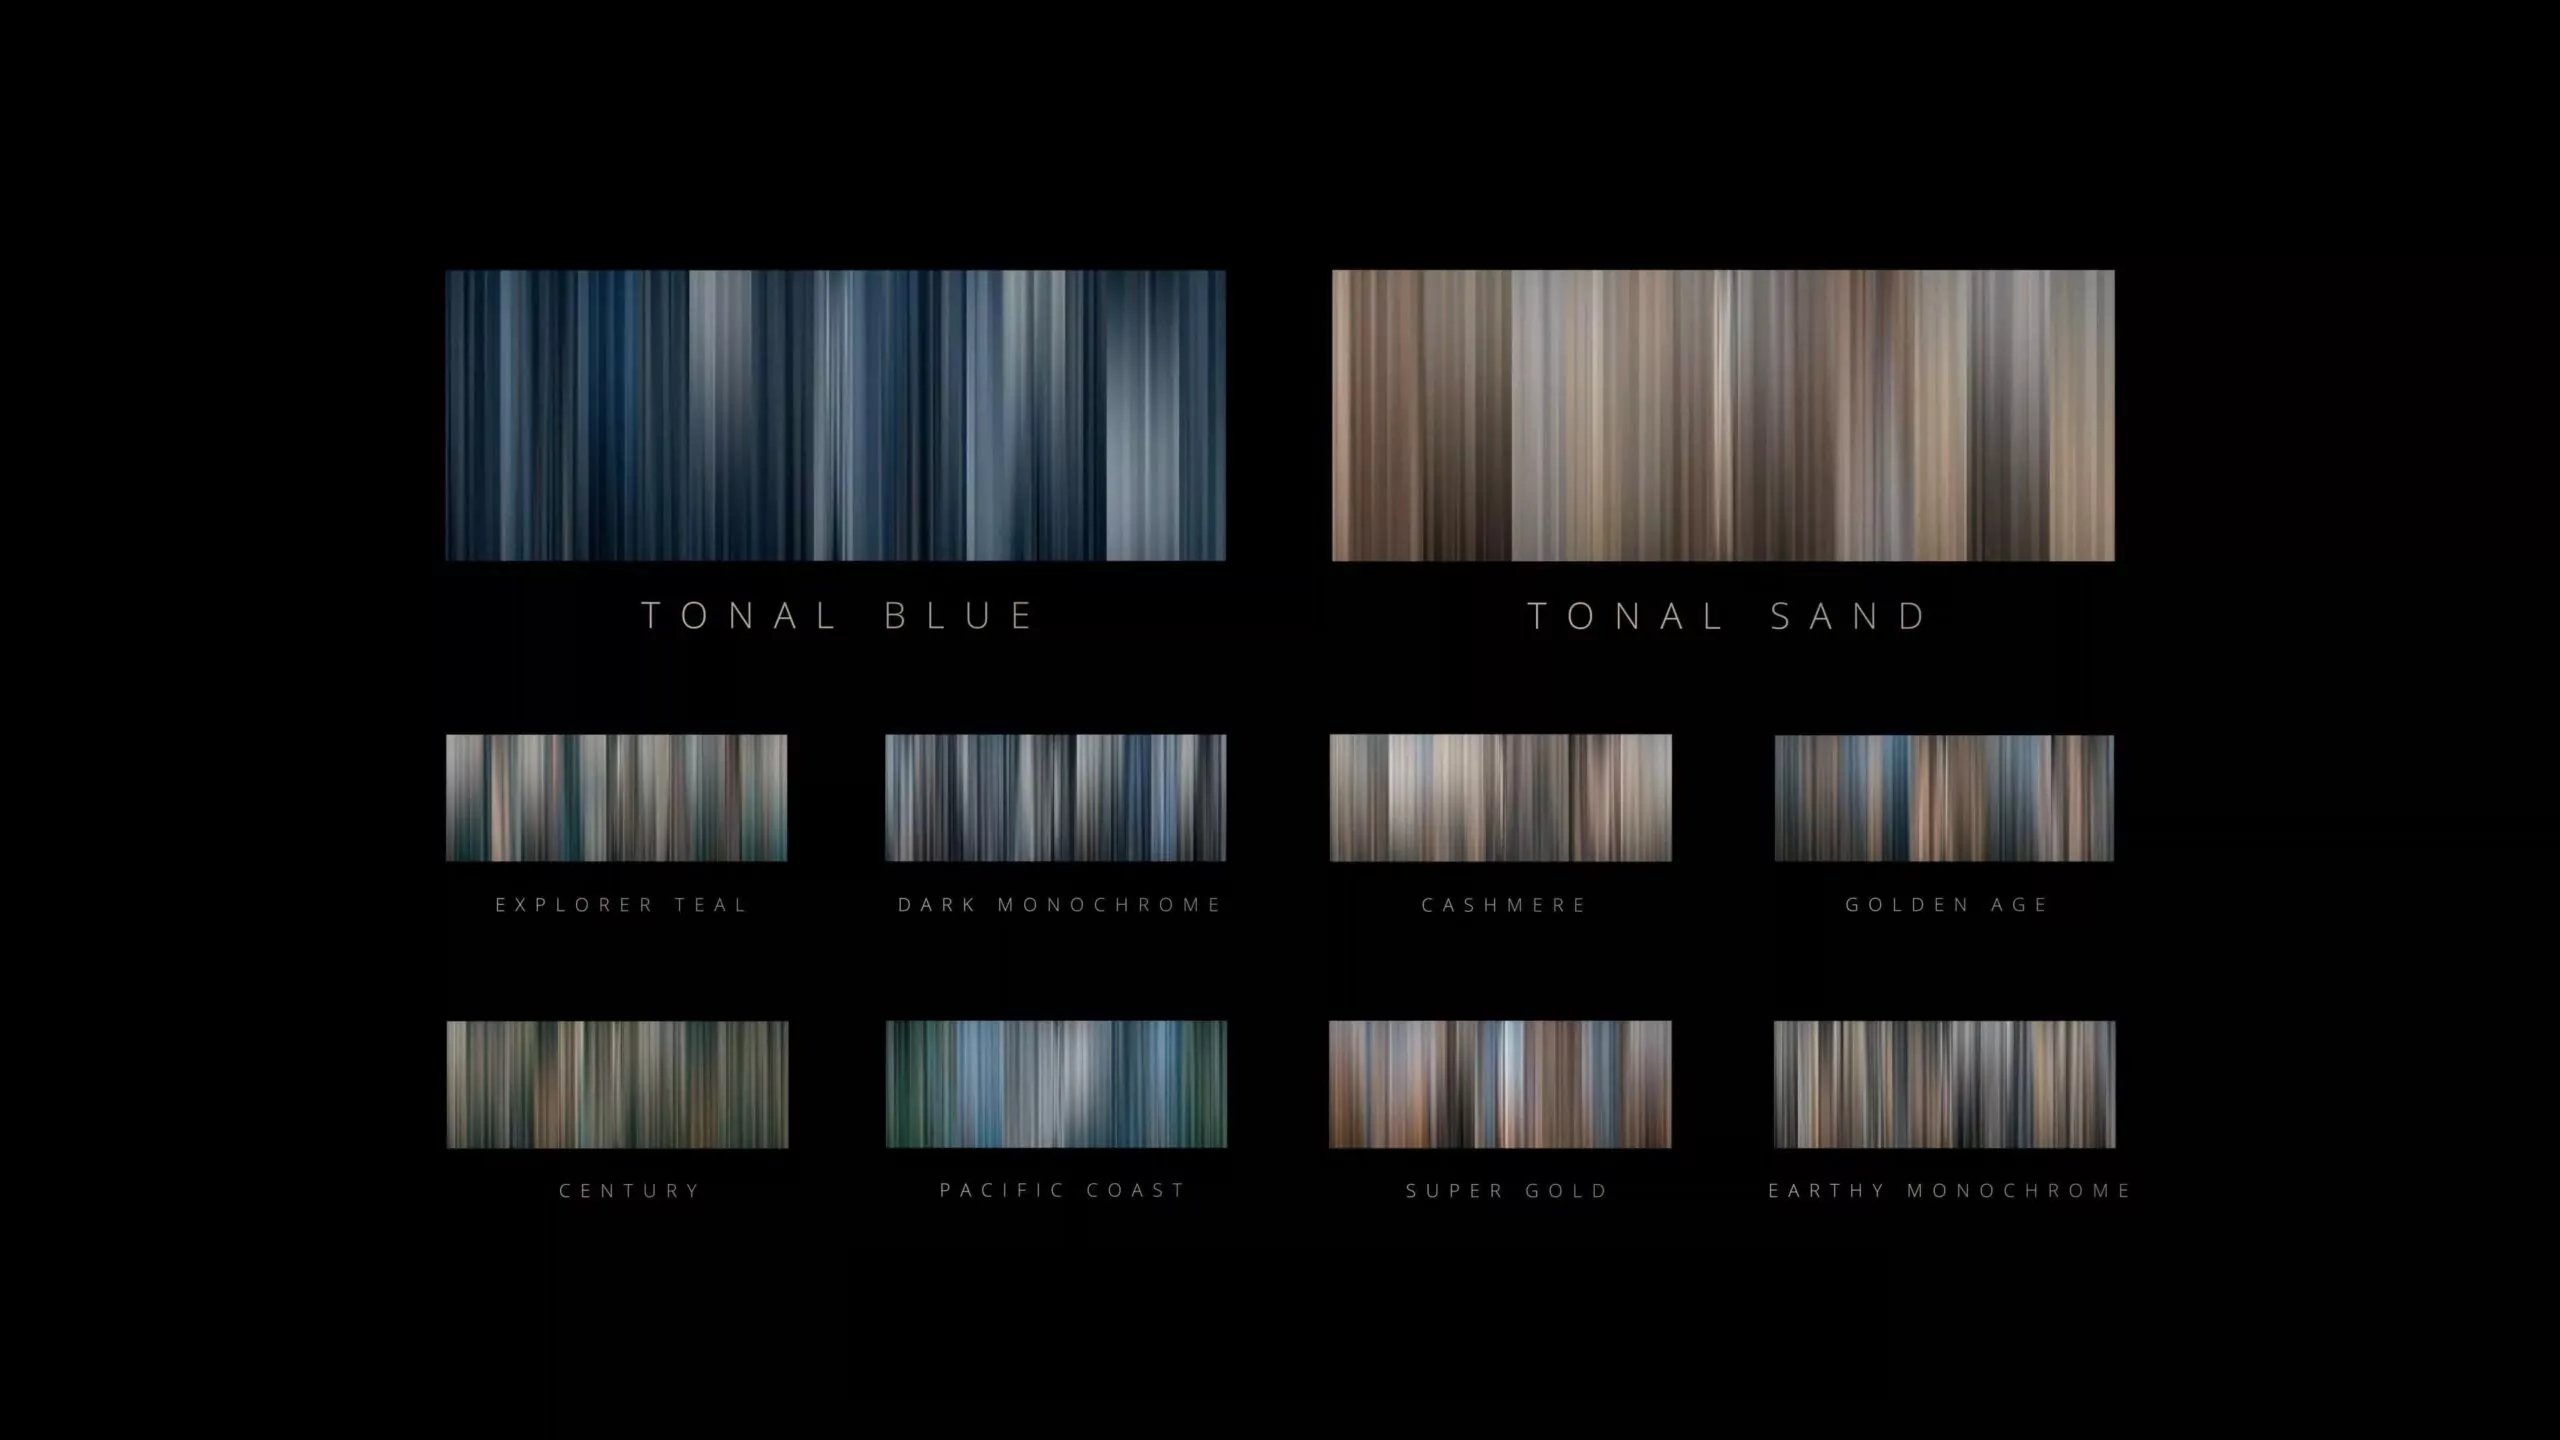
5. Apply LUTs (Look-Up Tables) Johnny FPV™ LUTS
One of the quickest ways to get that professional look is to apply a LUT (Look-Up Table). LUTs are pre-made color grading presets that help give your footage a specific mood or cinematic style.
- Use DJI LUTs: DJI provides specific LUTs for their D-Log footage that you can apply in your editing software. These LUTs are designed to work with the color profile of your DJI drone footage.
- Third-Party LUTs: If you want to experiment with different looks, you can use third-party LUTs to achieve various film styles. Popular LUT creators like Triune Films and FilmConvert offer LUT packs specifically designed for drone footage.
6. Add Creative Adjustments (Saturation and Color Balance)
After applying a LUT, you may need to make some creative adjustments to bring out the vibrancy and mood of the scene:
- Saturation: Increase the saturation if you want more vivid, rich colors, but be careful not to overdo it as it can make the footage look unnatural.
- Vibrance: Use vibrance to add a subtle boost to the colors, especially in the midtones, without making the footage look too intense.
- Color Balance: Adjust the color balance to fine-tune the overall color temperature of your footage. If the footage feels too cool (blue), add more warmth (orange/red) or vice versa.
7. Fine-Tuning and Effects
Once you have the basic color grade, it’s time to fine-tune the footage:
- Add Film Grain: To enhance the cinematic feel, you can add a subtle layer of film grain. This works especially well if you want to make your footage look like it was shot on film.
- Vignetting: A slight vignette can help draw the viewer’s eye toward the center of the frame and add a professional touch.
- Sharpening: Sharpen the footage slightly to bring out the details, especially in areas like landscapes, cityscapes, or textures.
8. Export the Footage
Once your drone footage is perfectly graded, it’s time to export it for sharing. Ensure that you’re exporting at the highest quality possible, especially if you plan to share it on professional platforms or social media. Use the correct export settings for resolution (e.g., 4K) and bit rate for optimal quality.