How to Install LUTs in Adobe Premiere Pro 2025
How to Install LUTs in Adobe Premiere Pro 2025: A Step-by-Step Guide
If you’re looking to give your videos a professional touch with stunning color grading, Look-Up Tables (LUTs) are an essential tool. LUTs are pre-defined color profiles that apply a specific color grade to your footage, helping you achieve cinematic looks with minimal effort. Adobe Premiere Pro, one of the most popular video editing software programs, makes it easy to install and apply LUTs to your projects.
Whether you’re a beginner or a seasoned editor, this guide will walk you through the process of installing LUTs in Adobe Premiere Pro 2025, so you can elevate your footage with ease.
What Are LUTs?
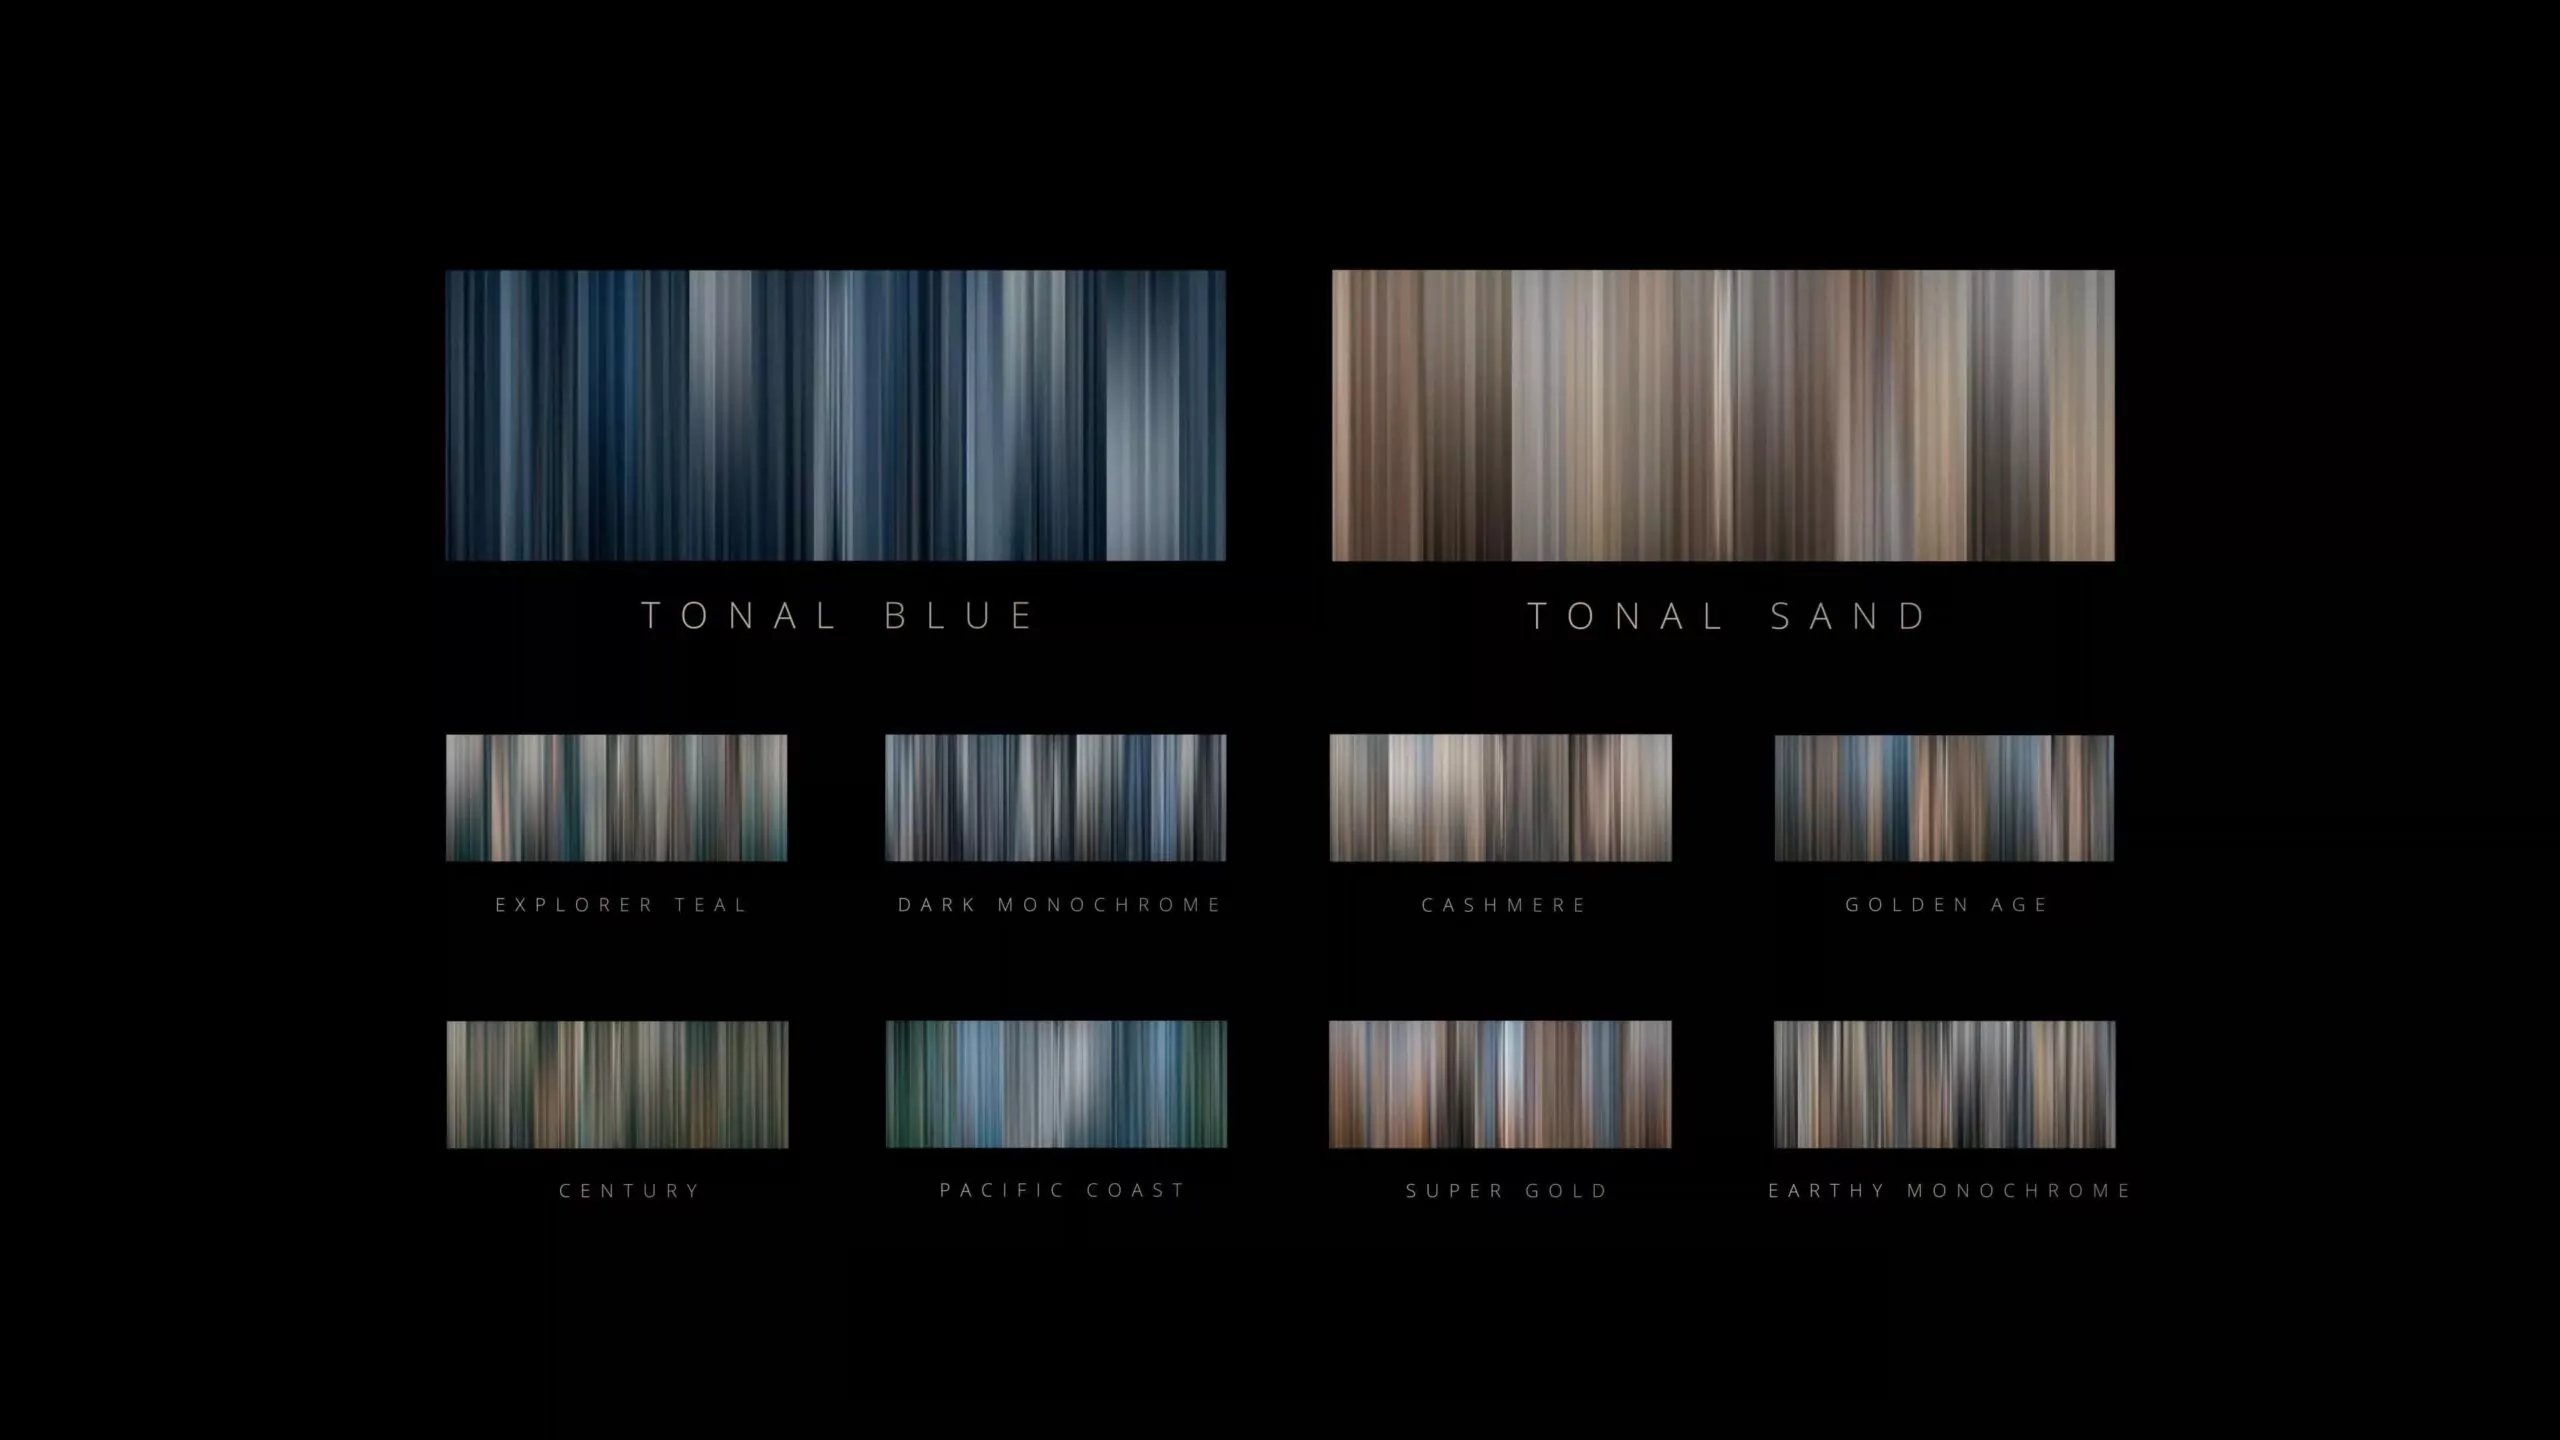
Before diving into the installation process, let’s quickly cover what LUTs are. LUTs are mathematical formulas that adjust colors in your video footage. They can be used to correct the color balance, create a specific look, or match the color profile of different cameras. LUTs are often used in film and video production to give footage a particular mood or visual style, like the famous “Teal and Orange” look, or even to match footage from multiple cameras.
Why Install LUTs in Premiere Pro?
Premiere Pro comes with a variety of built-in LUTs, but many filmmakers, editors, and content creators opt to use custom LUTs for more personalized or advanced color grading. By installing third-party LUTs, you gain access to an entire library of unique looks that can save time and create the perfect aesthetic for your project. Installing and applying LUTs in Premiere Pro is a simple process, and doing so can make a significant difference in the quality and mood of your videos.
Installing LUTs in Adobe Premiere Pro is simple. Rather than searching for your LUT on your hard drive every time you want to use them, this method installs the LUTs permanently in the Lumetri color panel for easy access. Plus, you can now keep all of your LUTs inside one folder for both Premiere and Media Encoder to access, keeping your system organized and streamlined. And while you’re here, be sure to check out our collection of professional creative LUTs for filmmakers.
Step 1: Download Your LUTs
The first step in installing LUTs is to find and download the LUTs you want to use. There are numerous free and paid LUT packs available online. Websites like LUTs.io, Motion Array, or Cine LUTs offer a wide variety of styles, from cinematic looks to vintage or retro tones.
Once you’ve selected and downloaded the LUTs, they will typically come in a .cube or .3dl file format. These files are what you’ll be importing into Premiere Pro.
Step 2: Open Adobe Premiere Pro 2025
- Launch Adobe Premiere Pro 2025 and open the project you’re working on.
- If you’re creating a new project, select “New Project” and set up your workspace as usual.
Step 3: Navigate to the Color Workspace
- At the top of the screen, you’ll see the workspace options (e.g., Editing, Color, Effects).
- Click on Color to switch to the color grading workspace. This will give you access to all the tools you need for color correction and grading, including the Lumetri Color panel.
Step 4: Access the Lumetri Color Panel
- On the right-hand side of the screen, you should see the Lumetri Color panel. If you don’t see it, go to Window in the top menu and select Lumetri Color.
- Within the Lumetri Color panel, click on the Creative tab to find the LUT options.
Step 5: Install Your LUTs
There are two ways to install and use LUTs in Adobe Premiere Pro 2025: by importing them directly into the Lumetri Color panel or placing them in the default LUT folder. Let’s cover both methods.
Method 1: Importing LUTs Directly from the Lumetri Color Panel
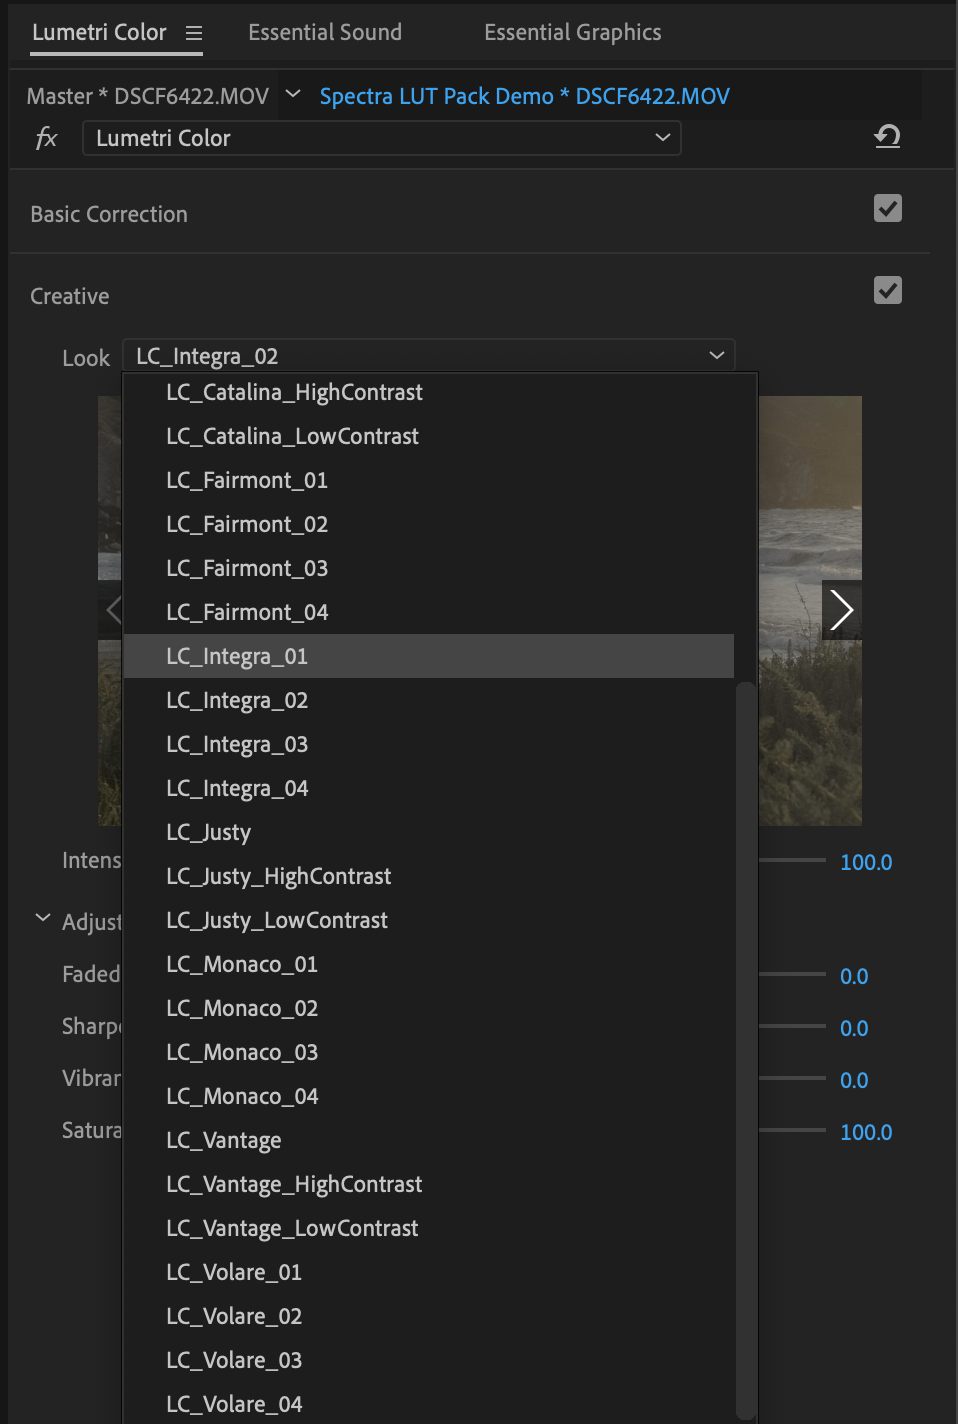
- In the Creative tab of the Lumetri Color panel, you’ll find a section called Look.
- Click on the Browse button next to the Look drop-down menu.
- A file explorer window will open. Navigate to where you downloaded your LUT files (.cube or .3dl).
- Select the LUT you want to use and click Open.
- The LUT will now appear in the Look menu and be applied to your footage.
Method 2: Installing LUTs to the Default Folder
If you plan on using your LUTs frequently, it’s a good idea to install them to Premiere Pro’s default LUT folder. This way, your LUTs will be available every time you open Premiere Pro.
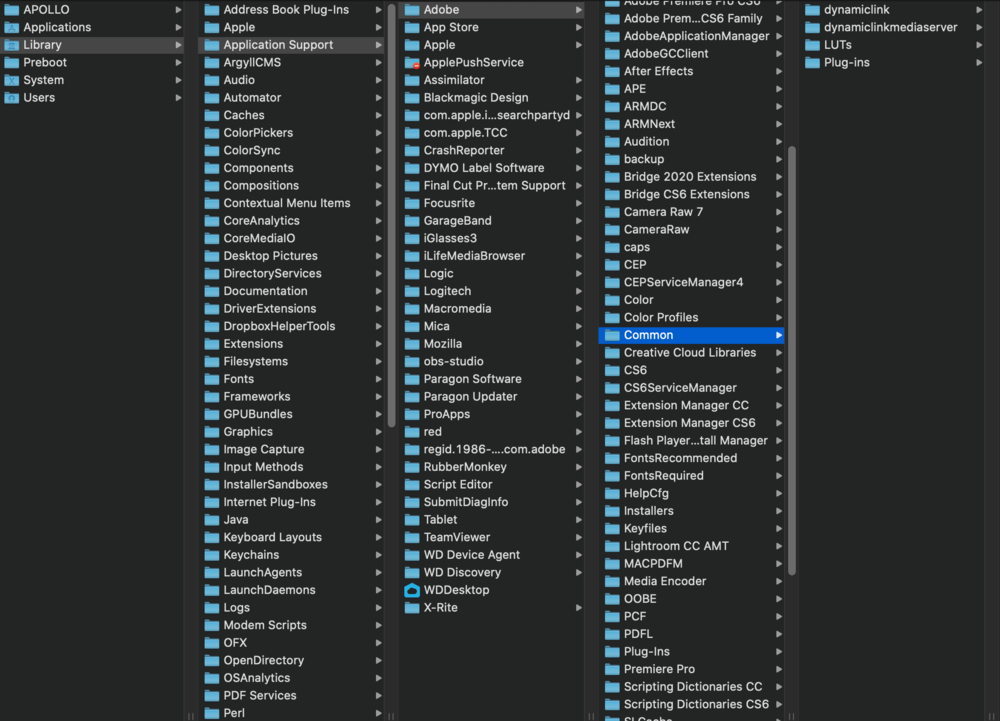
- Open File Explorer (Windows) or Finder (Mac).
- Navigate to the LUTs folder:
- Windows:
C:\Program Files\Adobe\Adobe Premiere Pro 2025\Lumetri\LUTs\Technical - Mac:
Applications > Adobe Premiere Pro 2025 > Lumetri > LUTs > Technical
- Windows:
- Copy your downloaded LUT files (.cube or .3dl) into the Creative or Technical folder (depending on the type of LUT you’re using).
- Once added, restart Premiere Pro for the changes to take effect.
Step 6: Apply Your LUT to Your Footage
- Once the LUT is installed, go back to the Creative tab in the Lumetri Color panel.
- Click on the Look dropdown menu and select the LUT you just installed.
- Your selected LUT will now be applied to your footage.
- You can fine-tune the strength of the LUT by adjusting the Intensity slider or making further adjustments using the Basic Correction or Curves sections in the Lumetri Color panel.
Step 7: Adjust and Fine-Tune Your Color Grading
While LUTs provide a great starting point, they are often just that—starting points. You can adjust your footage even further by tweaking the colors, shadows, highlights, contrast, and more to get your desired look.
Tips for Working with LUTs
- Experiment with Multiple LUTs: Don’t be afraid to try different LUTs to find the one that best suits your footage. LUTs can drastically alter the mood and tone of your video, so have fun with the process.
- Layer LUTs: You can layer multiple LUTs for complex color grading. Just remember to fine-tune the opacity of each LUT layer to avoid over-processing the footage.
- Use Adjustment Layers: Apply LUTs to adjustment layers above your clips so you can easily change the look across multiple clips at once.
Conclusion
Installing LUTs in Adobe Premiere Pro 2025 is a straightforward process that can elevate your videos to a professional level. Whether you’re looking to add a cinematic feel, match different camera profiles, or enhance your color grading, LUTs are a powerful tool. By following this guide, you’ll be able to quickly install and apply LUTs to your footage, helping you create stunning videos with ease.
Happy editing, and don’t forget to explore all the creative possibilities LUTs offer!